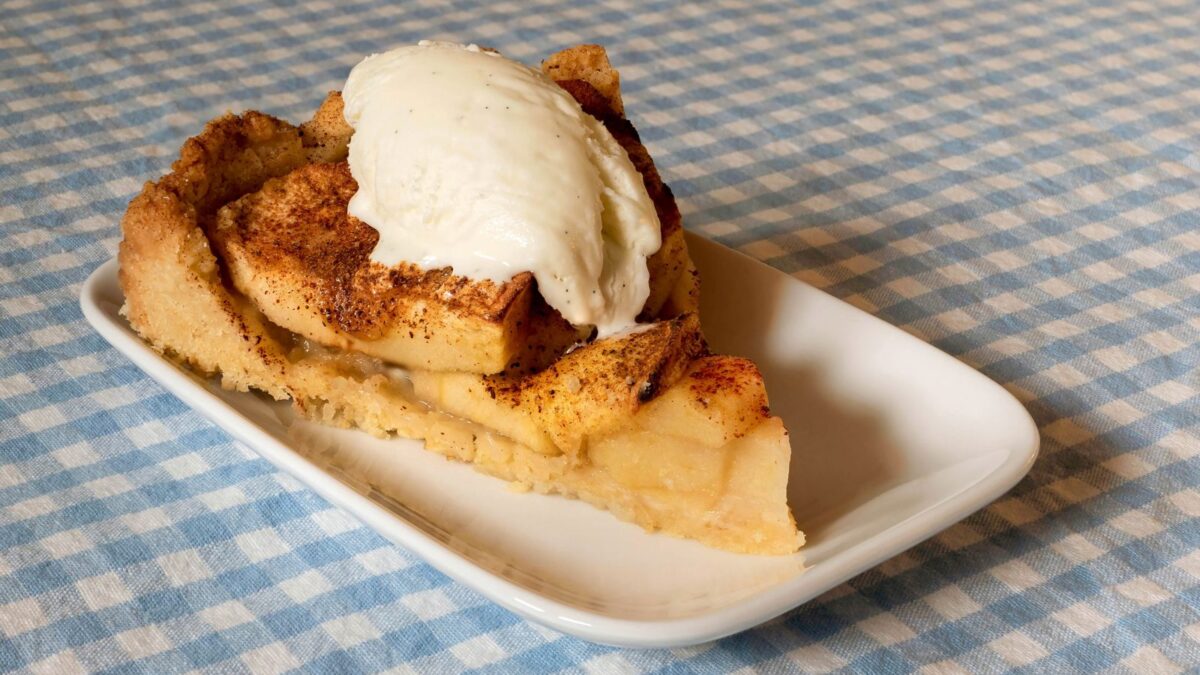
Three things get repeated about apple pie until nobody questions them, and every one of them makes for a worse pie. One apple variety is enough. A soggy bottom is just what happens. The lattice is decoration. All three are wrong, and the reasons are more useful than the myths.
I bake this pie four or five times between September and Christmas, and what follows is where I landed after a run of pies that tasted fine and sliced like soup.
Myth 1: One Apple Variety Does the Job
It doesn’t, and the reason is structural rather than a matter of taste.
Apples hold their shape in a hot oven according to how much pectin sits in their cell walls and how acidic the flesh is. A Granny Smith baked at 375F for 55 minutes still has edges you can see. A Honeycrisp in the same dish softens most of the way through. Bake nothing but Granny Smith and you get tidy slices sitting in thin, sour juice. Bake nothing but Honeycrisp or Gala and you get applesauce with a lid on it — pleasant applesauce, but the dome caves the moment the knife goes in.
Use both. My split is roughly two-thirds firm-tart to one-third sweet-softening, so about 2 pounds of Granny Smith and 1 pound of Honeycrisp inside the 3 pounds below. The soft third breaks down into the gaps between the firm slices, and that filled gap is what stops the pastry roof from collapsing into a hollow.
Cut every slice a scant quarter inch. Thicker and the firm apples never soften in the time the crust needs; thinner and even the Granny Smiths go to mush. If your shop only has Bramleys, treat those as the soft half and find a Braeburn or a Cox for the firm half. Apples that collapse willingly are lovely elsewhere — they’re why a classic apple crumble works with a single variety, since a crumble has no bottom crust to protect.
Myth 2: A Soggy Bottom Comes With the Territory
Nonsense. A soggy bottom is a race, and you can rig the race.
Raw pastry has to get hot enough for its butter to steam and its starch to set. Apple juice, meanwhile, is soaking downward from the second the pie hits the heat. Whichever gets there first wins, so every fix is either speeding up the crust or slowing down the juice.
Slowing the juice: toss the apples with the sugar and flour and let them sit ten minutes, then spoon the fruit into the shell and leave most of the pooled liquid behind in the bowl. It looks wasteful. It isn’t — that liquid is the sog. The 2 tablespoons of flour handle what’s left clinging to the slices.
Speeding the crust: slide a heavy baking sheet onto the lowest rack while the oven preheats and set the pie directly on it. That hot metal drives heat into the base instead of letting it drift up from below. Then start at 425F for the first 20 minutes before dropping to 375F. I also gave up on my ceramic dish for this one pie — a plain metal 9-inch pan conducts far faster, and the difference in the underside was obvious the first time.
Twenty minutes in the fridge for the assembled pie before it bakes helps too. Cold butter in a hot oven throws steam, and steam lifts the layers apart before the juice can settle into them.
Myth 3: The Lattice Is Only for Looks
Three pounds of apples carry a lot of water, and all of it has to go somewhere. A lattice is an evaporation vent that happens to be pretty.
Seal 3 pounds of fruit under an unbroken sheet of pastry and the steam has nowhere to leave. It condenses under the lid, keeps the filling thin, and softens the top crust from underneath while the outside browns. A lattice lets a real share of that water off across the 55 minutes of baking, which is why lattice pies tend to have a filling that holds a spoon shape.
A solid top works perfectly well — you just have to vent it like you mean it. Five or six slashes, each about 2 inches long, cut right through. Three timid nicks with the tip of a knife do nothing.
My own preference, and plenty of people will disagree: a solid top with proper vents beats a lattice. Slightly less juice escapes, the filling stays saucier, and you don’t spend twenty minutes weaving strips that shrink anyway.
Ingredients
- 2 and 1/2 cups all-purpose flour, plus extra for rolling
- 1 teaspoon salt
- 1 tablespoon sugar for the dough
- 1 cup cold unsalted butter, cubed and kept very cold
- 6 to 8 tablespoons ice water, added gradually
- 3 pounds baking apples, ideally 2 pounds Granny Smith and 1 pound Honeycrisp, peeled and sliced a scant 1/4 inch
- 3/4 cup granulated sugar, or a little less if your apples are sweet
- 2 tablespoons all-purpose flour to thicken the juices
- 1 and 1/2 teaspoons ground cinnamon plus a pinch of nutmeg
- 1 tablespoon lemon juice
- 1 egg, beaten, for the wash
- 1 tablespoon coarse sugar for the top
Instructions
- Whisk the flour, salt, and sugar, then scatter in the cold butter. Rub it in with your fingertips or a pastry cutter until the mix looks pebbly and some pea-sized butter pieces are still visible. Those pieces become the flakes.
- Add ice water a tablespoon at a time, tossing rather than stirring, until a squeezed handful holds together. Divide into two discs, wrap, and chill at least one hour or overnight.
- Toss the sliced apples with the sugar, flour, cinnamon, nutmeg, and lemon juice. Leave them 10 minutes so the sugar pulls out juice.
- Roll one disc into a 12-inch circle and settle it into a 9-inch pie dish, pressing into the corners and leaving the overhang.
- Spoon in the apples, mounding them slightly in the middle since they shrink. Leave the pooled liquid in the bowl.
- Roll the second disc, lay it over, trim to about an inch, fold and crimp to seal, and cut five or six 2-inch steam vents through the top.
- Brush with beaten egg, sprinkle the coarse sugar, and chill the whole pie 20 minutes while the oven heats to 425F with a baking sheet on the lowest rack.
- Bake on the hot sheet at 425F for 20 minutes, then drop to 375F for another 35 to 40 minutes, until the crust is deep golden and the juices bubble thickly at the vents.
- Cool at least 3 hours before cutting.
The Three Hours Nobody Wants to Wait
That last step is the one people skip, and it’s the one that decides whether the slice stands up.
The flour thickening the juice only finishes its job as the pie cools. At around 90 minutes it’s thick but sliding; by 3 hours it holds a cut edge. Cut at 30 minutes and you’ll get a puddle on the plate and a hollow under the crust where the filling drained out.
To serve it warm, bake in the morning, leave it uncovered on a rack, and give it 12 minutes at 300F before it goes to the table. Never cover a cooling pie — trapped steam turns the top crust leathery within the hour. It’s also why apple pie is the thing to bake first on a crowded holiday morning, before the pecan pie and the pumpkin pie take over the oven.
What Goes Wrong the Second Time You Make It
The first attempt usually goes well because you’re being careful. The second is where shortcuts creep in.
Warm butter is the usual culprit. Above about 24C in the kitchen, it softens while you’re rubbing it in and you get pastry rather than layers — put the bowl in the fridge for ten minutes mid-way. Too much water is the other: dough that feels smooth and lovely in the hand bakes tough. It should look ragged and barely cohesive. If the pastry itself is what keeps going wrong, the fat-to-flour ratio and handling rules for shortcrust are worth reading first.
And if you’re staring at three pounds of apples wondering whether it’s worth the pastry at all, the honest answer some days is no. Grate them into a cinnamon applesauce cake instead and save the pie for a day you’ve got the afternoon.