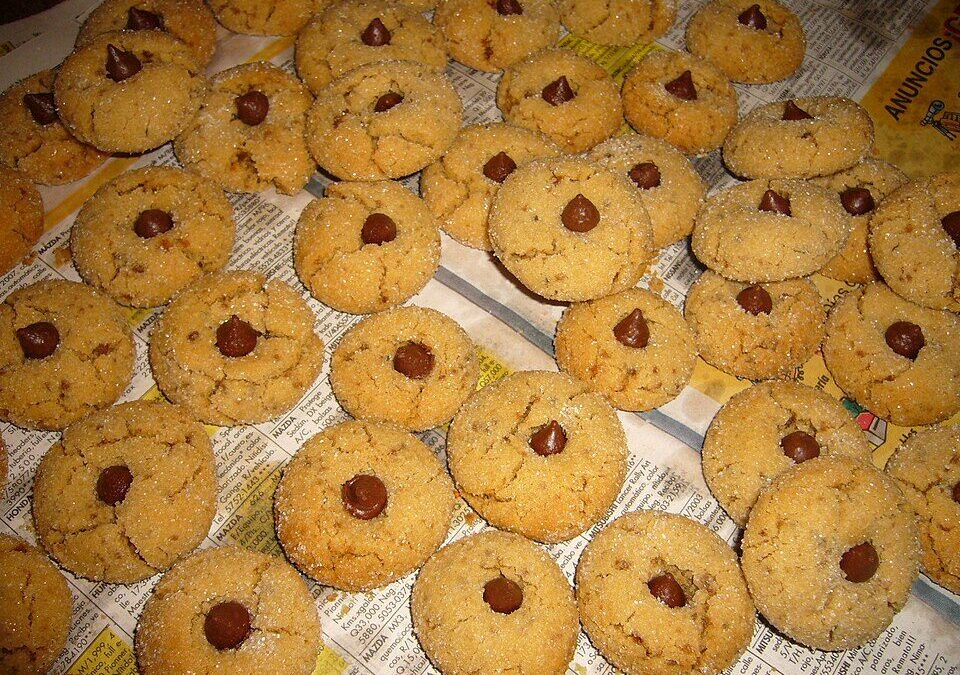
These take about twenty five minutes start to finish, one bowl, no chilling, no mixer. There is one step that actually matters and the rest is stirring.
Prep: 15 mins Cook: 11 mins Serves: 24
The Fork Marks Are Structural
People assume the crosshatch is a decorative signature. It is doing a job.
Peanut butter cookie dough carries a lot of fat and very little water, which makes it stiff and sluggish. It barely spreads in the oven. Left as a ball, the outside sets into a shell while the middle is still raw dough, and you get a cookie that is crisp on the outside and doughy in the centre at the same time. Pressing it to about half an inch thick fixes the geometry, so the whole thing bakes through in the same eleven minutes.
The crossed second press matters less than the first, but it does spread the dough sideways rather than just squashing it, which keeps the edges from cracking into a ragged rim. Dip the fork in the sugar bowl between cookies and it will stop sticking.
Ingredients
- 1 cup creamy peanut butter
- 1/2 cup unsalted butter, softened
- 1/2 cup granulated sugar, plus extra for rolling
- 1/2 cup packed brown sugar
- 1 large egg
- 1 teaspoon vanilla extract
- 1 1/4 cups all-purpose flour
- 3/4 teaspoon baking soda
- 1/2 teaspoon baking powder
- 1/4 teaspoon salt
Instructions
- Preheat your oven to 350 degrees Fahrenheit and line two baking sheets with parchment paper.
- In a large bowl, beat the peanut butter, softened butter, granulated sugar, and brown sugar together until creamy and well combined.
- Add the egg and vanilla and mix until smooth, scraping down the sides of the bowl as needed.
- In a separate bowl, whisk together the flour, baking soda, baking powder, and salt, then stir this into the wet mixture until a soft dough forms.
- Roll the dough into tablespoon-sized balls and roll each in a little extra granulated sugar for a sparkly finish.
- Place the balls on the prepared sheets and press each one twice with a fork to create the classic crosshatch pattern.
- Bake for 10 to 12 minutes until the edges are set but the centers still look slightly soft.
- Let the cookies rest on the sheet for five minutes before transferring them to a rack to cool completely.
Three Things Worth Getting Right
Use a no-stir supermarket peanut butter. The stabilisers keep the oil in suspension, which is why the dough behaves predictably. Natural peanut butter works if you stir the jar until your arm aches, but the dough runs greasy and the cookies spread thinner.
Spoon the flour into the cup and level it with a knife. Scooping straight from the bag packs in an extra 15 to 20 grams and that is the difference between chewy and sandy.
Pull them at 10 minutes if you want chewy, 12 if you want snap. The centres will look underdone and slightly glossy at 10. They firm up on the hot sheet during the five minute rest, which is why that rest is in the method and not optional.
Keeping Them Soft
Airtight container, five days, with a slice of ordinary sandwich bread tucked in the corner. The cookies pull moisture out of the bread instead of the air pulling it out of them. Swap the bread when it goes hard, usually day two.
Raw dough balls freeze better than baked cookies do. Freeze them on a tray until solid, bag them, and bake from frozen at the same 350°F with two extra minutes. I keep a bag going permanently, which is more useful than it sounds when someone turns up unannounced.
If you want the flaky salt on top, put it on before baking, not after. It sinks slightly into the surface and stays put rather than rolling off into the tin.
Once you have the fork trick, the rest of the drop-cookie family follows the same logic. Oatmeal raisin cookies spread more and need no pressing at all, brown butter chocolate chip cookies want the opposite treatment and benefit from a rest in the fridge, and if it is the peanut-and-chocolate combination you were actually after, homemade peanut butter cups need no oven at all.