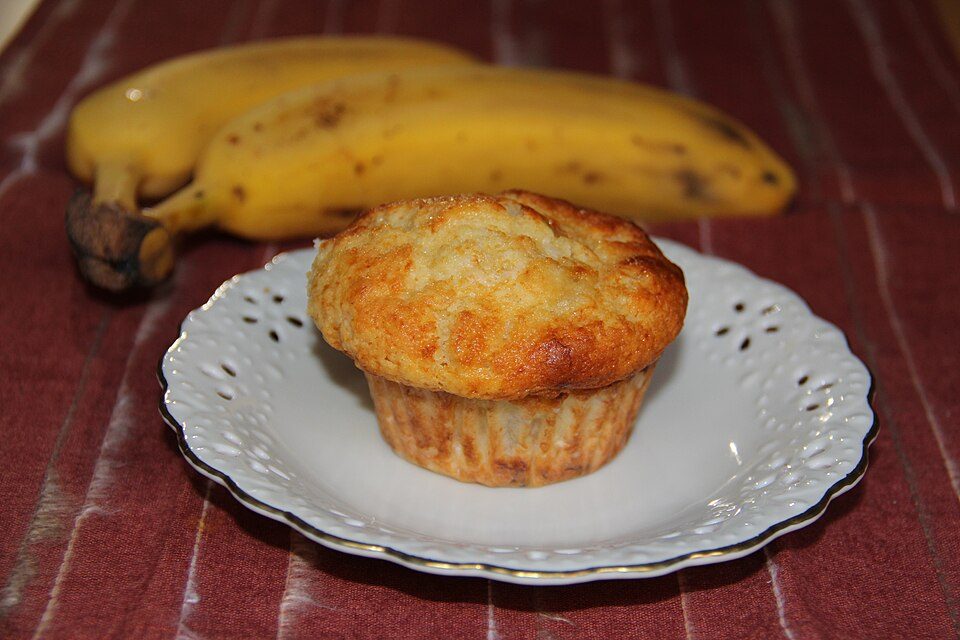
Three things people repeat about banana muffins are wrong, and each one quietly costs you texture. Blacker bananas are not automatically better. A smooth batter is a warning sign rather than an achievement. And a tall dome tells you almost nothing about whether the muffin under it is any good.
I have baked this same batch most Sundays for about four years, usually because the fruit bowl has given up on me again. The recipe below has not changed much in that time. What changed was my understanding of the three ideas I had picked up somewhere and never questioned.
Prep: 15 mins Cook: 20 mins Serves: 12
Myth 1: The Blacker the Banana, the Better
The reasoning is sound as far as it goes. As a banana ripens, enzymes break its starch down into simpler sugars, so a spotted banana genuinely is sweeter than a yellow one. True enough.
What nobody mentions is that the conversion finishes. Somewhere around the point where the peel is roughly three quarters brown, the sugar gain flattens out. Keep going and two other things take over. The cell walls collapse and the flesh starts releasing free liquid, and yeasts on the skin begin fermenting the sugars you were after, which is where that faint nail-polish smell in a very old banana comes from.
So a jet-black banana that leaks juice when you peel it is adding water to your batter, not flavour. Three of those can push the mix wet enough that the centres stay gummy at 22 minutes. I learned that from a bunch I had forgotten behind the kettle for nine days.
The bananas you want are heavily freckled to mostly brown, still firm enough to hold their shape when you tip them out of the peel, and they should mash into a lumpy paste rather than a pourable slurry. If yours are past that, use them anyway but hold back two tablespoons of the milk.
Myth 2: Mix Until the Batter Is Smooth
This one does the most damage, because it sounds like basic competence. Lumps look like a mistake, so people stir until they are gone.
Flour plus liquid plus agitation equals gluten. In bread dough that is the point. In a muffin, gluten strands trap the carbon dioxide from the baking soda into long stretched channels instead of small round bubbles, and you get tunnels running vertically through the crumb, a chewy rather than tender bite, and a top that peaks into a sharp cracked cone.
Count your folds. Twelve to fifteen passes with a spatula, scraping the bottom of the bowl each time, is enough. Stop while you can still see flour-coloured lumps roughly the size of a grain of rice. They hydrate perfectly well in the first four minutes of baking, and I have never once found a dry pocket of raw flour in a finished muffin because of them.
The same rule is why a banana bread loaf and pumpkin bread use the identical stir-and-stop method. Anything in the quick-bread family fails the same way. Drop the wheat and the advice inverts, which is why a banana loaf made with gluten-free flour needs a batter rest instead.
Myth 3: A Big Dome Means a Better Muffin
Bakery muffins have enormous domes, therefore domes are good. That is the logic, and it skips a step.
A dome forms when the batter near the tin sets first while the still-liquid centre keeps expanding and pushes upward. Three things drive it: fill level, batter thickness, and how hot the oven runs in the first few minutes. None of them measures tenderness.
Here is the uncomfortable part. Overmixed batter domes better. The gluten you accidentally built is stronger, so it holds a taller structure. The muffin that looks most impressive on the cooling rack can be the toughest one in the tin. Bakeries get height from very high fill levels and commercial ovens, not from a superior crumb.
What I aim for now is a fill line about a quarter inch below the rim of the paper, a straight 375°F the whole way, and a dome that rises maybe half an inch above the tin with a golden top that has split slightly across the middle. That split is the tell you want. It means the crust set at a sensible speed rather than being blasted.
Ingredients
- 3 large ripe bananas, mashed
- 1/3 cup unsalted butter, melted
- 1/2 cup packed brown sugar
- 1 large egg
- 1 teaspoon vanilla extract
- 1 1/2 cups all-purpose flour
- 1 teaspoon baking soda
- 1/2 teaspoon baking powder
- 1/2 teaspoon salt
- 1 teaspoon ground cinnamon
- 1/3 cup milk
- 3/4 cup chopped walnuts, toasted
Instructions
- Preheat the oven to 375 degrees Fahrenheit and line a 12-cup muffin tin with paper liners or grease it well.
- In a large bowl, mash the bananas until mostly smooth, then whisk in the melted butter, brown sugar, egg, and vanilla.
- In a separate bowl, whisk together the flour, baking soda, baking powder, salt, and cinnamon.
- Add the dry ingredients to the wet, then pour in the milk, and stir gently just until no dry streaks remain. Do not overmix.
- Fold in most of the toasted walnuts, saving a handful to sprinkle on top of the muffins.
- Divide the batter evenly among the cups, filling each nearly to the top, and scatter the reserved walnuts over each.
- Bake for 18 to 22 minutes, until the tops are golden and a toothpick inserted into the center comes out clean.
- Let the muffins cool in the tin for five minutes, then transfer them to a rack to finish cooling.
Reading the Crumb After You Cut One
Break one open at the ten minute mark and it will tell you which of the three you got wrong.
Long vertical holes running from base to top, like someone pushed a skewer through: overmixed. Cut the stirring next time.
A dense, slightly wet band along the very bottom while the top is fine: too much liquid, usually from bananas that had gone past the point described above, occasionally from mashing them in a food processor, which liquefies them far more than a fork does.
Pale sides with a browned top: light aluminium tin, needed another two minutes, or it sat on the top rack. I use the centre rack and turn the tin at 12 minutes, because my oven runs hotter at the back left.
Toast the walnuts, by the way. Four minutes in a dry pan over medium heat, shaking constantly, until they smell like walnuts rather than nothing. Raw ones taste faintly of cardboard in a sweet batter.
What to Do When the Bananas Are Still Yellow Tonight
You can force the sugar conversion. Put the unpeeled bananas on a foil-lined sheet and roast at 300°F for 15 to 20 minutes, until the skins are shiny black and slightly split. Cool them for ten minutes, then squeeze the flesh out.
Be honest about what this gives you. Heat drives the starch conversion and does make them sweet, but it skips the slower aromatic changes of real ripening, so the muffins taste sweet rather than banana-ish. A rescue, not an equal swap. Given the choice I would bake blueberry streusel muffins tonight and the banana ones on Thursday, or use up whatever else is going soft in a loaf of zucchini bread.
One more thing that is easy to miss: mash the bananas in the bowl you are going to build the batter in. Every extra vessel leaves a tablespoon of banana behind on its sides, and across three bananas that is enough to notice.