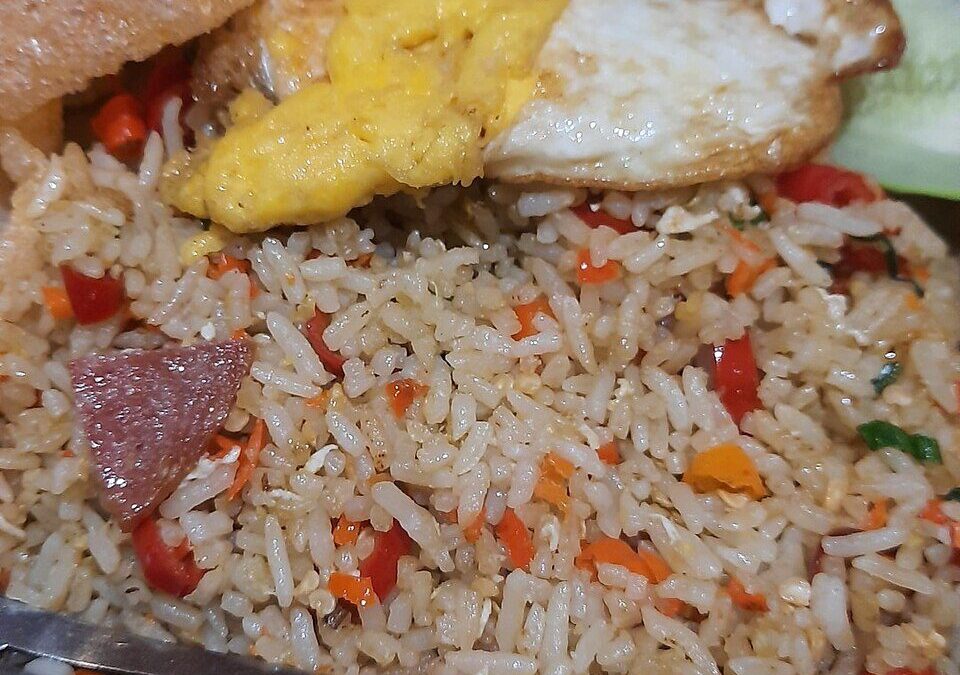
There is a specific kind of magic in vegetable fried rice: the way cold, forgotten rice at the back of the fridge becomes something you’d happily order out for. It’s the dish I make when the week has gotten away from me and dinner needs to happen fast, but I still want something that tastes like it took effort. It never does.
The secret, honestly, isn’t a secret at all. It’s day-old rice, a hot pan, and the confidence to keep things moving. Fried rice is a stir-fry, which means it rewards speed and high heat. Once you understand that rhythm, you can make it with your eyes half-closed on a Tuesday.
This version leans vegetable-forward and completely meat-free, but it’s a template more than a rulebook. Use what you have, chop it small, and let the wok do the talking.
Prep: 10 mins Cook: 10 mins Serves: 4
Why You’ll Love This Vegetable Fried Rice
- It comes together in about twenty minutes from start to plate, faster than delivery.
- It’s the perfect home for leftover rice and vegetables that are slightly past their prime.
- Everything cooks in a single pan, so cleanup is genuinely painless.
- It’s easily made vegan and adapts to whatever is in your crisper drawer.
- Kids and picky eaters tend to love it, especially with a soft-scrambled egg folded in.
Ingredients
- 4 cups cold, cooked rice (day-old is best)
- 2 tablespoons neutral oil, such as vegetable or peanut
- 2 large eggs, lightly beaten (optional, omit for vegan)
- 1 small onion, finely diced
- 3 cloves garlic, minced
- 1 tablespoon fresh ginger, grated
- 1 cup carrots, diced small
- 1 cup frozen peas
- 1 red bell pepper, diced
- 3 tablespoons soy sauce
- 1 tablespoon toasted sesame oil
- 3 green onions, sliced
- Salt and white pepper, to taste
Instructions
- Break up the cold rice with your hands or a fork so there are no large clumps. Set it aside within easy reach of the stove.
- Heat a large wok or skillet over high heat until it’s very hot. Add 1 tablespoon of oil and swirl to coat.
- If using eggs, pour in the beaten eggs and scramble quickly until just set. Slide them onto a plate and set aside.
- Add the remaining oil, then the onion, carrots, and bell pepper. Stir-fry for 3 to 4 minutes until they start to soften but keep a little bite.
- Add the garlic and ginger and stir constantly for about 30 seconds, until fragrant. Don’t let the garlic burn.
- Add the rice and press it into the hot pan, letting it sit for a moment to catch a little color before tossing. Stir-fry for 3 to 4 minutes.
- Pour in the soy sauce and sesame oil, tossing so every grain gets coated. Add the peas and the scrambled egg back in.
- Stir-fry another minute until the peas are heated through, then fold in most of the green onions.
- Taste, adjust with salt and white pepper, and serve hot, topped with the rest of the green onions.
Tips for the Best Vegetable Fried Rice
- Use cold rice. Fresh, warm rice steams and turns mushy; chilled rice fries up separate and slightly chewy.
- Get your pan genuinely hot before anything goes in. That high heat is what gives fried rice its signature aroma.
- Have everything chopped and measured before you start. Once you begin, there’s no time to pause and dice.
- Don’t overcrowd the pan. If you’re doubling the recipe, cook in two batches so the rice fries instead of stewing.
- Spread the rice out and let it sit occasionally, rather than stirring constantly, to develop those toasty edges.
Variations & Substitutions
- Swap in brown rice, jasmine, or even leftover quinoa for a different texture.
- Add cubed tofu, edamame, or cashews for extra protein.
- Stir in a spoonful of chili crisp or sriracha for heat, or a splash of rice vinegar for brightness.
- Use tamari instead of soy sauce to keep it gluten-free.
How to Store & Reheat
Let the fried rice cool, then store it in an airtight container in the fridge for up to 3 days. Reheat in a hot skillet with a small splash of oil to bring back the texture, or microwave with a damp paper towel over the top to keep it from drying out. Because it starts with already-cooked rice, avoid leaving it at room temperature for long stretches, and don’t reheat it more than once.
What to Serve With It
Vegetable fried rice is happy as a full meal on its own, but it also plays a great supporting role. Serve it alongside crispy spring rolls, a simple cucumber salad dressed in rice vinegar, or a bowl of hot-and-sour soup. A drizzle of chili oil and a wedge of lime on the side lets everyone customize their plate.
Frequently Asked Questions
Can I use fresh rice instead of day-old?
You can in a pinch. Spread freshly cooked rice on a sheet pan and chill it in the fridge for 30 to 60 minutes first. This dries the surface and helps you avoid mushy, clumpy fried rice.
Why is my fried rice soggy?
Usually it’s one of two things: the pan wasn’t hot enough, or there was too much rice and vegetables crowded in at once. Cook in batches over high heat and give the rice room to fry.
How do I make this vegan?
Simply leave out the eggs. To keep the dish satisfying, add extra vegetables, a handful of cashews, or pan-fried tofu for protein and texture.
Once you make fried rice a couple of times, it stops being a recipe and becomes a reflex, a reliable way to turn odds and ends into a warm, satisfying dinner. Keep a bag of cooked rice in the fridge, and you’re always one hot pan away from something good.