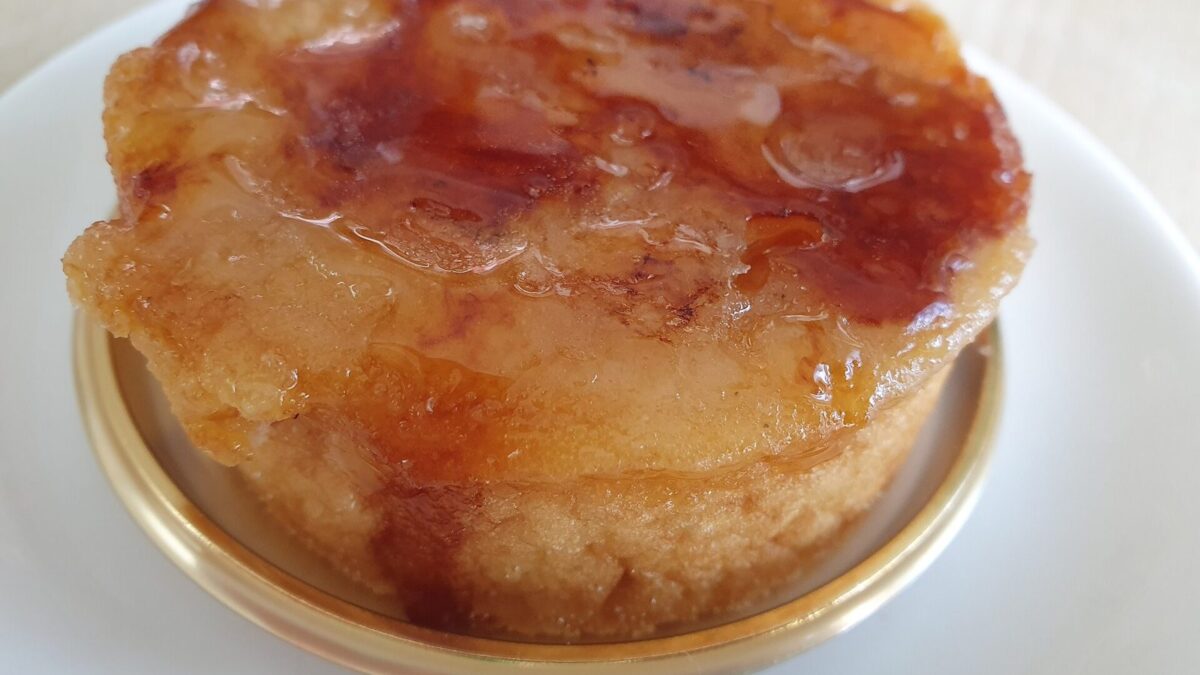
Crème brûlée feels like the height of fine dining, yet it is built from just a few humble ingredients you likely already have. That first tap through the glassy caramelized top into the cool, silky custard below is one of the great pleasures of dessert.
The name means burnt cream, a nod to the thin shell of sugar torched until it snaps like glass. Underneath waits a rich vanilla custard so smooth it barely needs chewing. The contrast of textures and temperatures is what makes this classic so unforgettable.
Best of all, it is a make-ahead dream. The custards set in the fridge for hours, so all you do before serving is caramelize the top. It is the kind of dessert that quietly impresses without keeping you tied to the kitchen.
Prep: 15 mins Cook: 40 mins Serves: 4
Why You’ll Love This Crème Brûlée
- Impressive but easy, with a short ingredient list and simple technique.
- Perfect make-ahead dessert since the custards need to chill for hours anyway.
- That signature crackle on top is endlessly satisfying to break through.
- Naturally gluten-free, so it suits many guests without any changes.
- Restaurant-worthy results from your own kitchen for a fraction of the price.
Ingredients
- 2 cups heavy cream, the base of the custard
- 1 vanilla bean, split and scraped, or 2 teaspoons vanilla extract
- 5 large egg yolks, at room temperature
- 1/2 cup granulated sugar, for the custard
- 1 pinch of salt, to balance the sweetness
- 6 teaspoons granulated sugar, for the caramelized tops
- Hot water, for the water bath
Instructions
- Heat the cream. Preheat your oven to 325°F. Pour the cream into a saucepan and add the scraped vanilla bean and its seeds. Warm over medium heat until it just begins to steam, then remove from the heat and let it steep for 10 minutes.
- Whisk the yolks. In a bowl, whisk the egg yolks, the half cup of sugar, and the pinch of salt until pale and slightly thickened.
- Temper the eggs. Slowly pour the warm cream into the yolks while whisking constantly. Adding it gradually keeps the eggs from scrambling. If using extract, stir it in now.
- Strain. Pour the custard through a fine mesh sieve into a measuring cup to remove any bits and the vanilla pod, leaving it perfectly smooth.
- Fill the ramekins. Divide the custard among four ramekins set in a deep baking dish.
- Make a water bath. Carefully pour hot water into the baking dish until it reaches halfway up the sides of the ramekins. This gentle heat keeps the custard silky.
- Bake. Bake for 35 to 40 minutes until the edges are set but the centers still jiggle slightly like gelatin.
- Chill. Remove the ramekins from the water, cool to room temperature, then refrigerate for at least 4 hours or overnight.
- Caramelize. Just before serving, sprinkle each custard with about 1.5 teaspoons of sugar. Use a kitchen torch to melt and brown it into a crisp shell, or broil briefly, watching closely.
Tips for the Best Crème Brûlée
- Do not overbake. The centers should still wobble when you gently shake the pan. They firm up as they chill.
- Strain the custard for the smoothest possible texture, free of any cooked egg specks.
- Use real vanilla bean if you can. Those tiny flecks and deep flavor make a noticeable difference.
- Caramelize just before serving so the sugar stays crisp rather than dissolving into the custard.
- Keep the water bath from boiling. Gentle heat prevents cracks and a curdled texture.
Variations & Substitutions
- Citrus twist: Steep orange or lemon zest in the cream for a bright, fragrant note.
- Coffee brûlée: Add a tablespoon of espresso powder to the warm cream for a mocha-like flavor.
- Chocolate version: Whisk a few ounces of melted dark chocolate into the strained custard.
- Dairy-free: Use full-fat coconut cream, though the flavor will carry a gentle coconut note.
How to Store & Reheat
Store the baked, un-caramelized custards covered in the refrigerator for up to three days. They are meant to be served cold, so no reheating is needed. Only torch the sugar tops right before serving, since the caramel shell softens within an hour or two of sitting. If you caramelize too early, the crackle turns sticky. Crème brûlée does not freeze well, as the custard texture suffers once thawed.
What to Serve With It
A handful of fresh berries alongside cuts the richness and adds a pop of color. A small cup of espresso or a glass of dessert wine turns it into a memorable finish. For a lighter touch, a sprig of mint and a dusting of powdered sugar is all you need.
Frequently Asked Questions
Do I need a kitchen torch?
A torch gives the most even, controlled caramelization, but your oven broiler works too. Place the ramekins close to the heat and watch constantly so the sugar does not burn.
Why did my custard turn out grainy?
Graininess usually means it baked too long or too hot. Use a water bath, keep the oven moderate, and pull the custards while the centers still jiggle.
Can I make crème brûlée a day ahead?
Yes, and it is ideal. Bake and chill the custards a day in advance, then caramelize the sugar just before serving.
Crack through that glassy top and you will understand why crème brûlée has charmed dessert lovers for generations. Elegant, silky, and easier than it looks, it is a showstopper worth mastering.