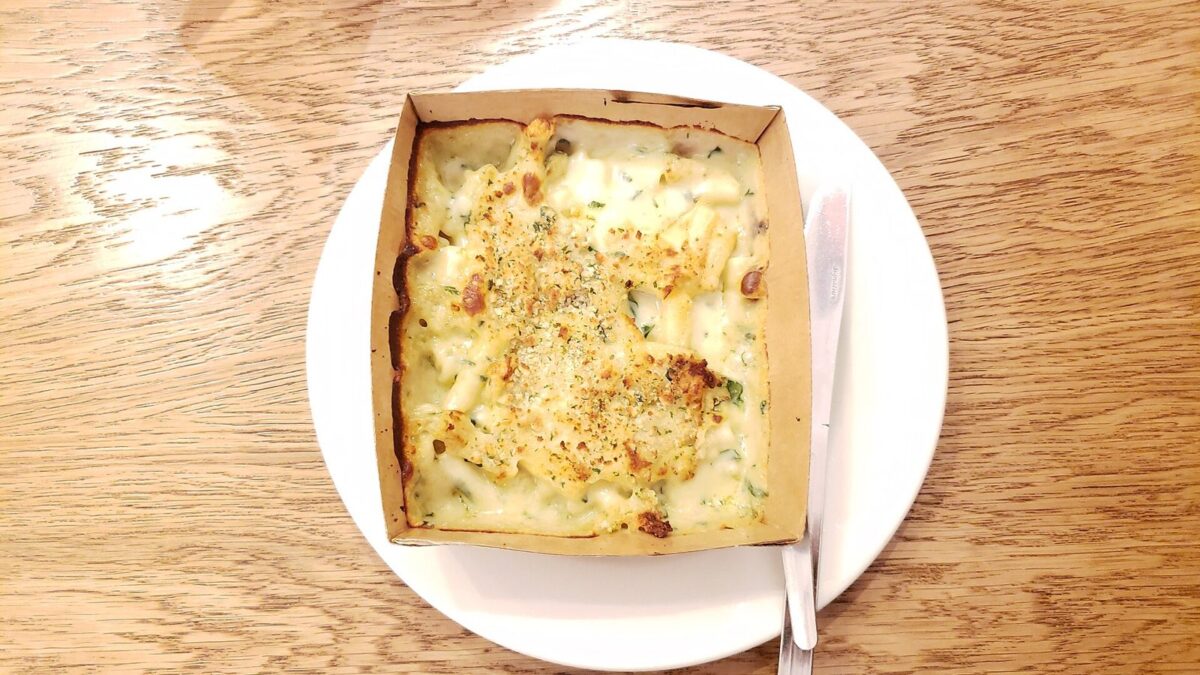
Baked mac and cheese fails in three places: the sauce, the oven, and the wait between assembling and eating. Everything below is a question I have actually been asked, or have asked myself standing over a grainy pot at seven in the evening wondering where it went wrong.
Why did my cheese sauce go grainy?
Heat. Cheese is protein and fat held in a loose structure, and above roughly 82°C the proteins tighten and squeeze the fat out, which is what those little curds and the oily slick are. Once it splits you are mostly stuck.
The fix is a sequencing one: take the pot off the heat entirely before the cheese goes in. The béchamel is already at 85°C or so, hot enough to melt cheddar without any flame under it. Add the cheese in three handfuls, stirring each one until it disappears before adding the next. Dumping three cups in at once drops the temperature unevenly and you end up putting the pot back on the burner to fix it, which is how most people split their sauce.
The half teaspoon of mustard powder earns its place twice over: flavor, plus emulsifiers that hold the sauce together. Some cooks add a pinch of sodium citrate for the same reason. I have never bothered — off the heat and in stages has worked every time.
Does pre-shredded cheese actually ruin it?
Not ruin. It does make it harder. Bagged shredded cheese is dusted with potato starch or cellulose to stop it clumping in the bag, and that coating goes straight into your sauce, where it can turn slightly gritty and hold the cheese back from melting cleanly.
Grate a block. Three cups of sharp cheddar takes about four minutes on a box grater, and the difference in the finished sauce is obvious enough that I stopped buying bags for this dish specifically. For a quick weeknight sprinkle over loaded baked potatoes it matters far less.
Do I need a roux, or does evaporated milk work?
Both work. They give you different things.
The roux route — butter and flour cooked together, then milk whisked in — gives a thicker, more stable sauce that survives 30 minutes in a hot oven without breaking. That stability is exactly what a baked version needs, which is why this recipe uses it. Cook the flour for a full 1 to 2 minutes until it smells nutty; skip that and the sauce tastes faintly of raw flour, a flavor that does not bake out.
The evaporated milk route skips flour entirely. Evaporated milk has been heat-treated, which makes its proteins unusually good at holding an emulsion, so you can melt cheese directly into it with an egg and get a glossy sauce in five minutes. It is excellent for stovetop mac. In the oven it is less reliable at the edges.
My honest position: for baked, use the roux. For a Tuesday night pot on the hob, evaporated milk is faster and arguably tastes cleaner because there is no flour muting the cheese. Both routes assume dairy; the plant-based version I make instead runs on an entirely different set of rules.
Ingredients
- 1 lb elbow macaroni, or another short pasta like cavatappi
- 4 tablespoons butter
- 1/4 cup all-purpose flour
- 3 cups whole milk, warmed slightly for a smoother sauce
- 1 cup heavy cream
- 3 cups sharp cheddar, freshly grated from a block
- 1 cup gruyere or mozzarella, grated, for extra melt
- 1/2 teaspoon garlic powder
- 1/2 teaspoon mustard powder, which deepens the cheese flavor
- 1/4 teaspoon smoked paprika
- Salt and black pepper, to taste
- 1/2 cup breadcrumbs, tossed with 1 tablespoon melted butter for the topping
Instructions
- Cook the pasta. Boil the macaroni in salted water until just shy of al dente, about 1 minute less than the package says. It will finish cooking in the oven. Drain and set aside.
- Start the roux. Preheat your oven to 375°F. In a large pot, melt the butter over medium heat, then whisk in the flour. Cook for 1 to 2 minutes, whisking constantly, until it smells nutty and turns pale gold.
- Make the sauce. Slowly pour in the warm milk and cream while whisking to keep it smooth. Cook for 4 to 5 minutes, stirring, until the sauce thickens enough to coat the back of a spoon.
- Add the seasonings. Stir in the garlic powder, mustard powder, paprika, salt and pepper.
- Melt in the cheese. Remove the pot from the heat and add most of the cheddar and gruyere in three additions, reserving some for the top. Stir until the sauce is glossy and smooth.
- Combine. Fold the drained pasta into the cheese sauce until every noodle is coated.
- Assemble. Pour the mixture into a buttered 9×13-inch baking dish. Scatter the reserved cheese and the buttered breadcrumbs evenly over the top.
- Bake. Bake for 25 to 30 minutes until bubbly around the edges and golden on top. For extra color, broil for the last 2 minutes, watching closely.
- Rest and serve. Let it sit for 5 minutes so the sauce sets before scooping.
How do I stop it drying out in the oven?
Make the sauce looser than looks right. When you fold the pasta in, the mixture should be soupy enough that it slumps flat in the dish rather than holding a mound. Pasta keeps absorbing liquid in the oven, and a sauce that looks perfect in the pot will be stiff and dry on the plate.
Undercook the macaroni by a full minute against the package time. Al dente pasta going in means al dente pasta coming out; already-soft pasta going in means paste.
Then watch the clock rather than the color. Thirty minutes at 375°F is enough. This dish is fully cooked before it goes in — the oven is only there to brown the top and set the edges, so extra time buys you nothing but evaporation. If your top is not browning fast enough, use the broiler for two minutes instead of adding ten minutes at 375°F.
Most dry mac I have eaten was baked uncovered for 45 minutes because a box said so. Pull it at 25 if the edges are bubbling.
Breadcrumbs on top, or leave them off?
Depends who is eating it. Breadcrumbs give you contrast — a crisp lid over soft pasta — and they protect the surface from drying. Toss them with a tablespoon of melted butter first or they toast unevenly and taste dusty.
Panko beats fine dried breadcrumbs by a distance; the flakes stay crisp far longer after baking.
The argument against is texture purity. A no-crumb version, just the reserved cheese browning into a chewy crust, is what most people picture as classic baked mac and cheese, and honestly it is what I make when it is only us. Crumbs come out when there are guests. Nobody has ever complained either way.
Can I assemble it a day ahead?
Yes, with one adjustment. Build it completely, hold back the breadcrumbs, cover the dish tightly and refrigerate for up to 24 hours. The pasta will drink some sauce overnight, so make the sauce noticeably looser than usual — add an extra half cup of milk before it goes in the dish.
Take it out of the fridge 30 minutes before baking so the dish is not fridge-cold going into a hot oven, add the buttered breadcrumbs then, and bake for 40 to 45 minutes rather than 30. It needs the extra time to come up to temperature all the way through. Check the middle with a knife tip; it should come out hot to the touch.
Leftovers reheat best in a covered dish at 325°F with a splash of milk stirred through, about 20 minutes for a portion. Four days in the fridge is my limit.
For what to put next to it: sharp, acidic things cut the richness, which is why creamy coleslaw with plenty of vinegar works better than another starch. Baked chicken parmesan makes it a full plate, and if you want the same casserole comfort with tomato instead of cheese sauce, baked ziti is the one I rotate with.