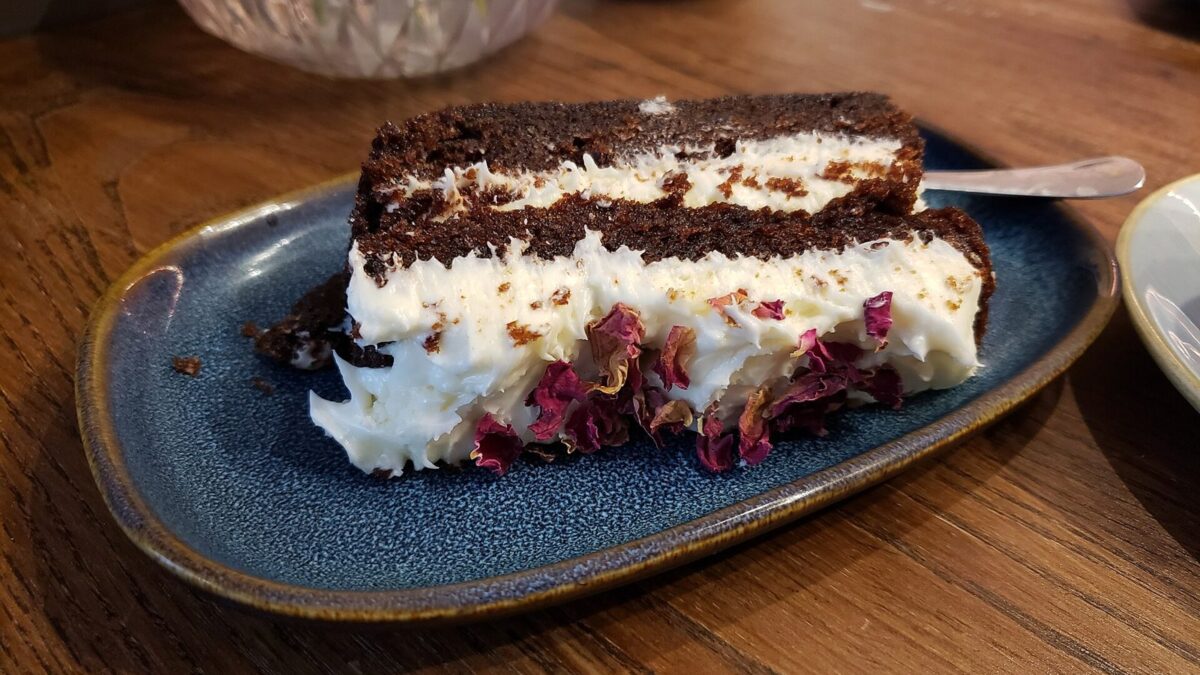
There’s something about a red velvet cake that makes an ordinary afternoon feel like a celebration. That deep crimson crumb, the faint tang of buttermilk, the cloud of cream cheese frosting on top – it’s a cake that turns heads before anyone has even taken a bite.
People often assume red velvet is just chocolate cake wearing a costume, but it’s really its own thing. A little cocoa, a splash of vinegar, and buttermilk give it that signature softness and gentle tang you won’t find anywhere else.
This is the version I make when someone’s birthday comes around or when I simply want the kitchen to smell like something wonderful. It’s forgiving, it’s beautiful, and it tastes like a warm hug.
Prep: 25 mins Cook: 30 mins Serves: 12
Why You’ll Love This Red Velvet Cake
- Impossibly soft crumb that stays moist for days thanks to buttermilk and oil.
- That gentle cocoa tang – not too chocolatey, not too plain, just right.
- Showstopping color that makes it perfect for holidays, birthdays, and anniversaries.
- Classic cream cheese frosting that balances the sweetness beautifully.
- Beginner-friendly – no fancy equipment or techniques required.
Ingredients
- 2 1/2 cups all-purpose flour – spooned and leveled, not packed.
- 1 1/2 cups granulated sugar – for a balanced sweetness.
- 1 teaspoon baking soda – your main lift.
- 1 tablespoon unsweetened cocoa powder – just enough for that hint of chocolate.
- 1 teaspoon salt – to keep the flavors sharp.
- 1 1/2 cups vegetable oil – the secret to a tender, lasting crumb.
- 1 cup buttermilk – at room temperature for the best rise.
- 2 large eggs – room temperature.
- 2 tablespoons red food coloring – gel works best for a vivid shade.
- 1 teaspoon vanilla extract – pure if you have it.
- 1 teaspoon white vinegar – it reacts with the baking soda for extra lift.
- 8 oz cream cheese, softened – the heart of the frosting.
- 4 cups powdered sugar – sifted for a smooth finish.
Instructions
- Preheat your oven to 350F (175C). Grease two 9-inch round cake pans and line the bottoms with parchment paper so the layers release cleanly.
- In a large bowl, whisk together the flour, sugar, baking soda, cocoa powder, and salt until evenly combined and free of lumps.
- In a separate bowl, whisk the oil, buttermilk, eggs, red food coloring, and vanilla until smooth and deeply colored.
- Pour the wet ingredients into the dry and stir gently until just combined. Add the vinegar last and fold it in – you’ll see the batter lighten slightly.
- Divide the batter evenly between the two pans. Tap them on the counter a couple of times to release any large air bubbles.
- Bake for 28 to 32 minutes, until a toothpick inserted in the center comes out with only a few moist crumbs. Avoid opening the oven too early.
- Cool the cakes in their pans for 15 minutes, then turn them out onto a wire rack to cool completely before frosting.
- For the frosting, beat the cream cheese until smooth, then gradually add powdered sugar and a splash of vanilla until fluffy and spreadable.
- Frost the first layer, stack the second on top, and cover the whole cake. Smooth the sides or leave them rustic – both look gorgeous.
Tips for the Best Red Velvet Cake
- Use room-temperature ingredients so the batter blends smoothly and rises evenly.
- Reach for gel food coloring – it gives a richer red without thinning the batter.
- Don’t overmix once the flour goes in, or the cake can turn dense.
- Let the layers cool fully before frosting, or the cream cheese will slide right off.
- Chill the frosted cake for 20 minutes before slicing for cleaner edges.
Variations & Substitutions
- No buttermilk? Stir 1 tablespoon of lemon juice into 1 cup of milk and let it sit for 5 minutes.
- Cupcake version: Fill lined muffin tins two-thirds full and bake for 18 to 20 minutes.
- Natural coloring: Beet powder gives a softer, earthier red for those avoiding dyes.
- Extra tang: Add an ounce more cream cheese to the frosting for a sharper finish.
How to Store & Reheat
Because of the cream cheese frosting, this cake keeps best in the refrigerator. Store it in an airtight container or under a cake dome for up to 5 days. Let slices sit at room temperature for about 20 minutes before serving so the crumb softens and the flavor comes through. To freeze, wrap unfrosted layers tightly in plastic and foil for up to 3 months, then thaw overnight in the fridge before frosting.
What to Serve With It
Red velvet is rich, so I love pairing it with something simple and warm – a cup of good coffee, a pot of black tea, or a tall glass of cold milk. For dessert spreads, a scoop of vanilla bean ice cream or a handful of fresh raspberries on the side cuts through the sweetness beautifully and adds a pop of color to the plate.
Frequently Asked Questions
Why is my red velvet cake not red enough?
The color depends heavily on your food coloring. Gel colorings are far more concentrated than liquid ones, so use those for a vivid shade. Too much cocoa can also mute the red, so stick to the small amount listed.
Can I make this cake ahead of time?
Absolutely. Bake the layers a day ahead, wrap them well, and store at room temperature. Frost the day you plan to serve for the freshest result, and refrigerate any leftovers.
What does the vinegar do in red velvet cake?
The vinegar reacts with the baking soda to give the cake extra lift and that famously tender crumb. It also brightens the subtle tang from the buttermilk, which is part of what makes red velvet so distinctive.
Whether it’s a birthday, a holiday, or just a Tuesday that needs a little joy, this red velvet cake never disappoints – bake it once and it’ll become a keeper.